Thursday, May 31, 2012

how-to: hanging map

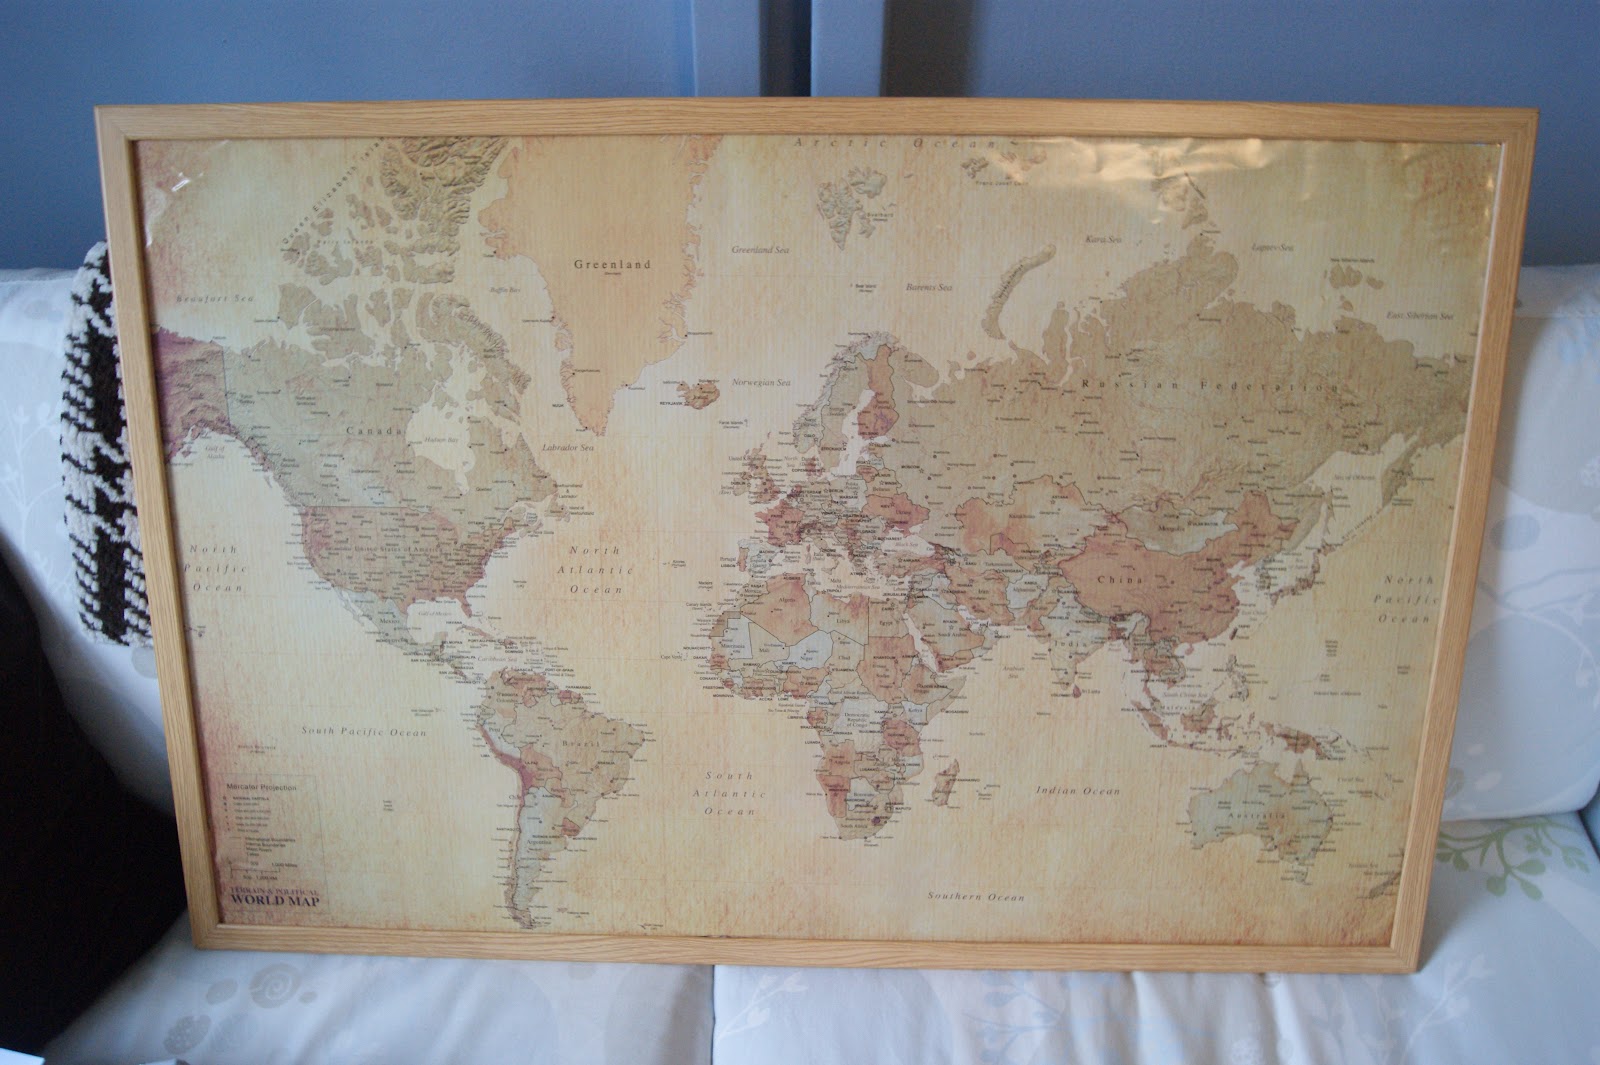
I have a new project to share with you!  It's a map on corkboard!

I'm actually very proud of this one.  I did this project as a sort of present to both the future hubby and I.  It was his birthday, but we've both been wanting to have this. 

Not only was the result fun, but this was easy to make.  

Supplies I used: 
antique-looking map (I ordered one from Amazon when I couldn't find one in stores.)
Mod Podge
foam brush (for the Mod Podge)
corkboard (I found a framed corkboard at the Container Store.)


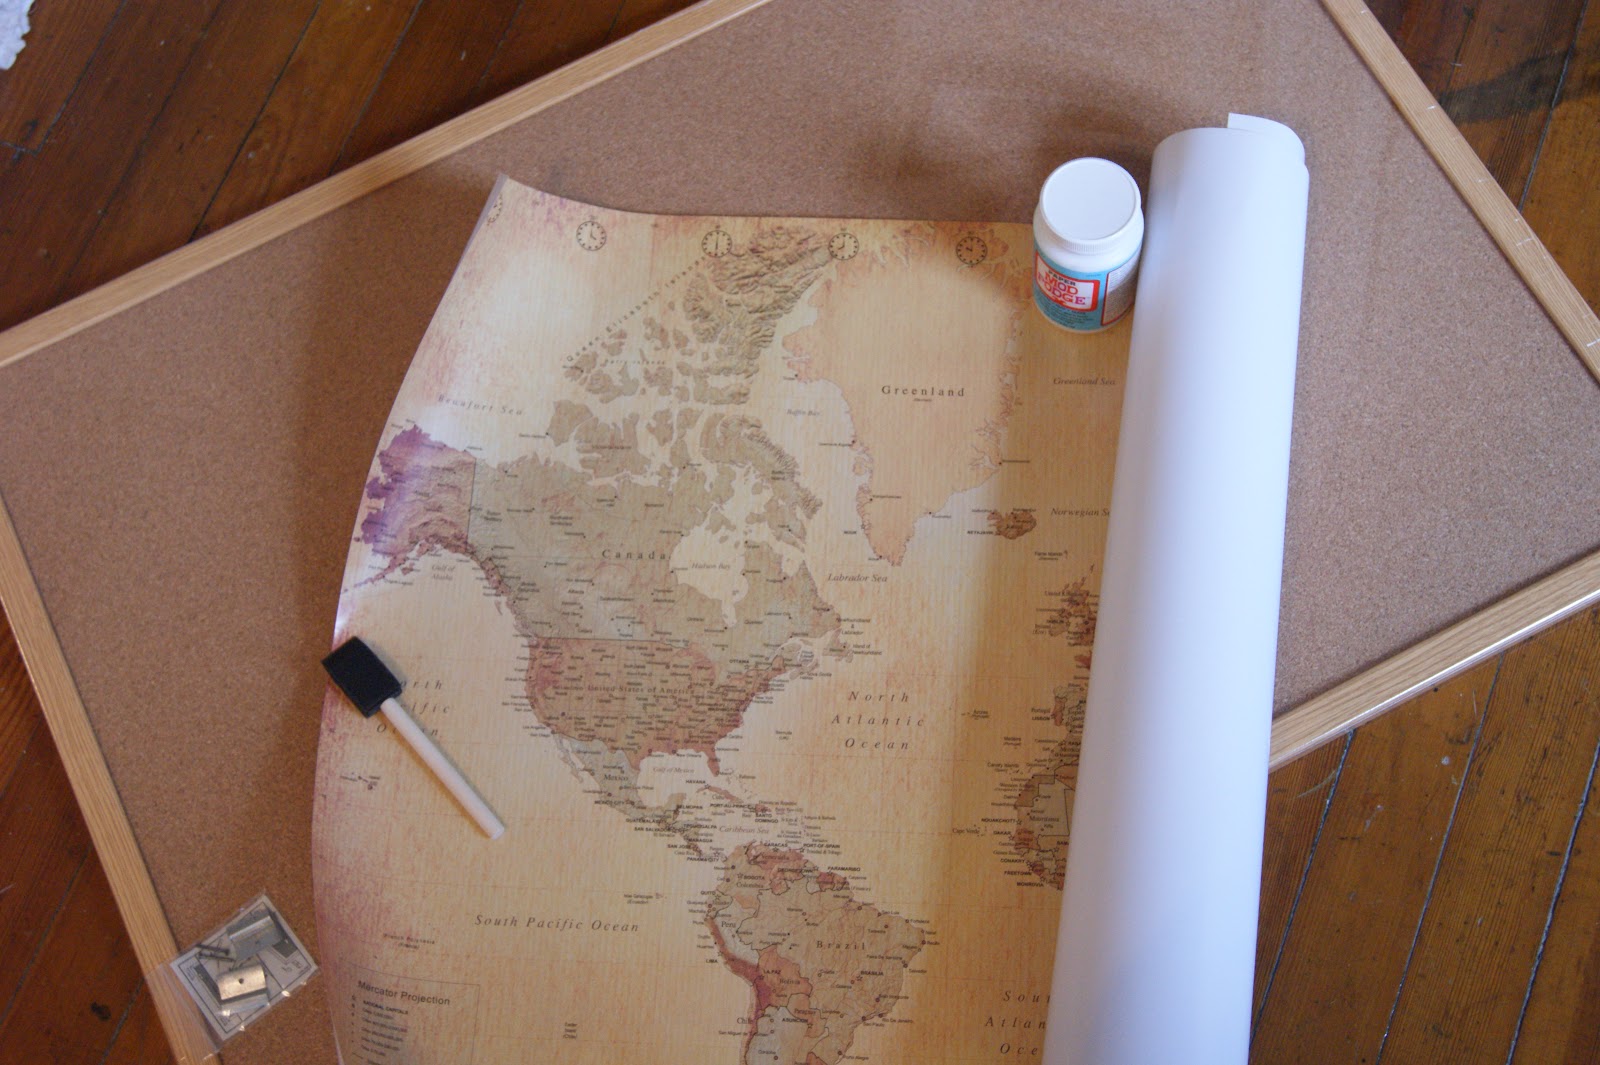
FYI: The hanging corkboard I used from The Container Store was already framed.  I couldn't remove the framing because of their design, so I ended up having to get creative and trim the sides of the map a little.  Then I slid the edges under the framing. 

Directions? It's easy! I placed the map on the corkboard, used some ModPodge to hold down the corners, and let it dry!


Voila!

I also picked up some little map pins, and we had so much fun pinning places.  We have different colors for places we've been separately and places we've both been to. 

Now, we just need to find a place on the wall!

Tuesday, May 29, 2012

short and sweet

There isn't much in the world that's more tasty than fresh produce from a local market.


Look at this beauty:


Just thought I would share something lovely.

My world is a bit hectic and crazy at the moment, but there's always something to appreciate.  Even if it's something as mundane as a tasty tomato.

Sunday, May 27, 2012

sunday funny: telepathic moms

This weekend, I'm in Texas.  I'm at home with my own immediate family for the first time since Christmas, and it's been lovely.  Both of my sisters are in town, and our sweet next door neighbor and her two lovely daughters threw me a bridal shower.  It was so much fun!  We had pimento cheese sandwiches and played a few games and I got to see so many ladies that I love and cherish.

For today, I just thought I would post a little Sunday Funny.  Did you ever read the funnies on Sunday morning?  In our family, if you wanted to read them, you had to beat Mom to the paper. 

This weekend, I'll post one that goes out to all the telepathically communicating mothers out there.  Especially my own wonderful mother. 


Friday, May 25, 2012

how-to: chippy wooden frames

In the midst of all my diy and projects and details for my wedding, I thought I would share this project with you!


At a lovely bridal shower this past weekend, some of the ladies helped me make these adorable picture frames.  Eventually, I'm going to spray paint the inside glass with chalkboard paint. But, even without the chalkboard paint, I think they're adorable. 


In fact, I got so excited about the project that I forgot to take pictures while we were doing it!


Supplies:
cheap wooden frames (mine were about $3 from Hobby Lobby)
2 colors of paint (one that's appropriate for wood -- I had 3 color options and told everyone who helped me to just pick their two favorite!)
paint brushes
a wax candle (I picked one up from CVS for about $1)
sandpaper block


Instructions:


1.  Using the candle, rub wax on places around the frame that would get chipped in every day life: flat stretches, corners, etc.


2. Paint the first color on.  Wait for it to dry.


3.  After it's dry, use the sandpaper block to lightly buff the places you put wax earlier.  The paint should come off fairly easily.  Buff until it looks chippy enough for you.


4. Rub wax on a second time.  A good portion of it can go in the same places.  It's also nice to put some in new places on the frame so the first color will show through the second color a little. It's up to you, though!


5. Paint on the second color! Wait for that one to dry.


6. Buff with the sandblock again! Buff until you're happy with the final result.


All done! Do you love them?

Wednesday, May 23, 2012

Canning: first time around

This week has been so busy! I'm sorry that I haven't updated as often.  Our wedding is less than four weeks away, and we're working hard to get all the details sorted out.

But, in the mean time, I have decided to try my hand at something new: canning!

Why, you ask?  Why on earth would I try a new activity when I'm supposed to be planning a wedding?

The answer is simple: I love strawberries.

We went to visit the local farm this weekend, and they had strawberries for sale! 


They were delicious and beautiful and I had to have some.  So, my wonderful fiance bought me some strawberries, took me to Ace Hardware to get a few canning supplies, and we headed home to bond over a sticky, boiling, canning experiment.

The recipe was simple:

2 quarts strawberries
6 cups sugar

Crush strawberries.  Put strawberries in big saucepot on the stove. Add in sugar gradually and slowly bring to boil.  When mixture is at rolling boil and reaches gelling point, take off heat, skim the foam, and put into hot jars (that you've had sitting in simmering water the whole time).  Then process 15 minutes in boiling water canner.

Seems simple enough, right?

Sadly, we let it boil for too long. I misunderstood how to tell the gelling point. Whoops!  The strawberry jam turned out too thick to give to anyone else, so we'll eat it all ourselves and try again soon.

Do you have any favorite jam canning recipes?  I'd love to hear them!

Attempt #2 will turn out much better, I'm sure.

Monday, May 14, 2012

motivation monday: attack of the dust bunnies

This week, as part of my quest to reorganize the closet, I had to resort to cleaning out the space under the bed.


"Why?" you ask.  Why on earth would I subject myself to that kind of pain? Why would anyone voluntarily submit themselves to the wrath of the Dust Bunnies?


Well, the answer is simple: the comforter taking up all the space on the top shelf of the closet had to find a new home. Which meant that it had to go under the bed.  


The space under the bed hadn't been cleaned in a while (don't tell my mother), so I figured I might as well tackle that, too, while I had the motivation.  


So, last Friday, I put on shorts and got down to business.  


First stop: The Container Store.  Do any of you love this store as much as I do? They have all the organization products you could ever want wrapped up in one tiny store.  I was on a mission for a way to store the blanket, and I found the perfect thing: the blanket bag.

  
(click image to see product)


One planned purchase and one un-planned purchase later, I had my solution to The Comforter Problem.  I was able to fit the entire fluffy comforter/duvet-filler thing into the small bag!


I trekked home, pulled every single thing out from under the bed, tackled it with my fake swiffer (it has a cloth pad that I can wash and reuse!), wiped off the tops of containers, and put everything back neatly. Only took me about an hour! Hah.


Step one of closet reorganization complete! And, as a bonus, I finally got the space under the bed cleaned!


Perhaps my sense of accomplishment at completing this one task will spur me to complete all the others I'm working on. Maybe. 

Wednesday, May 9, 2012

wedding: the clarks

A few weeks ago, I had the pleasure of photographing the wedding of a friend.  A sneak peek of a few of the beautiful photos!  


Sunday, May 6, 2012

little how-to: lemon salt scrub!

I have been working on so many small projects, lately!  Most of them are wedding-related, but a few are just for fun.  This one is both!

I've seen so many "recipes" for body scrubs around the internet over the last few months, so I thought I would whip up one of my own.  

Ingredients:
course sea salt
olive oil 
lemon juice


I didn't use specific measurements.  I put some salt in a bowl and added enough olive oil to almost reach the final consistency I was looking for (don't forget about the lemon juice!).  I was looking for something like a paste, but a texture easy enough to spread around with a washcloth -- not clumpy.  Olive oil is good for your skin all by itself, so don't worry about using "too much" of it.  

The last thing to go in is the lemon juice.  Be careful with that olive oil.  The lemon juice is more runny, so it might take a little testing to get the right consistency.

This is what my mixture looked like:


After I was satisfied with my mixture (and I tested it on my hand because I was curious), I put it in some adorable mini mason jars, threw a little touch of fabric in the lid, and tied a twine bow. Voila! Part of the bridesmaids' gift!  


To use: with already clean skin, rub the scrub in a circular motion over skin to exfoliate.  Rinse and enjoy!