Showing posts with label how-to. Show all posts

Thursday, May 31, 2012

how-to: hanging map

I have a new project to share with you!  It's a map on corkboard!

I'm actually very proud of this one.  I did this project as a sort of present to both the future hubby and I.  It was his birthday, but we've both been wanting to have this. 

Not only was the result fun, but this was easy to make.  

Supplies I used: 
antique-looking map (I ordered one from Amazon when I couldn't find one in stores.)
Mod Podge
foam brush (for the Mod Podge)
corkboard (I found a framed corkboard at the Container Store.)
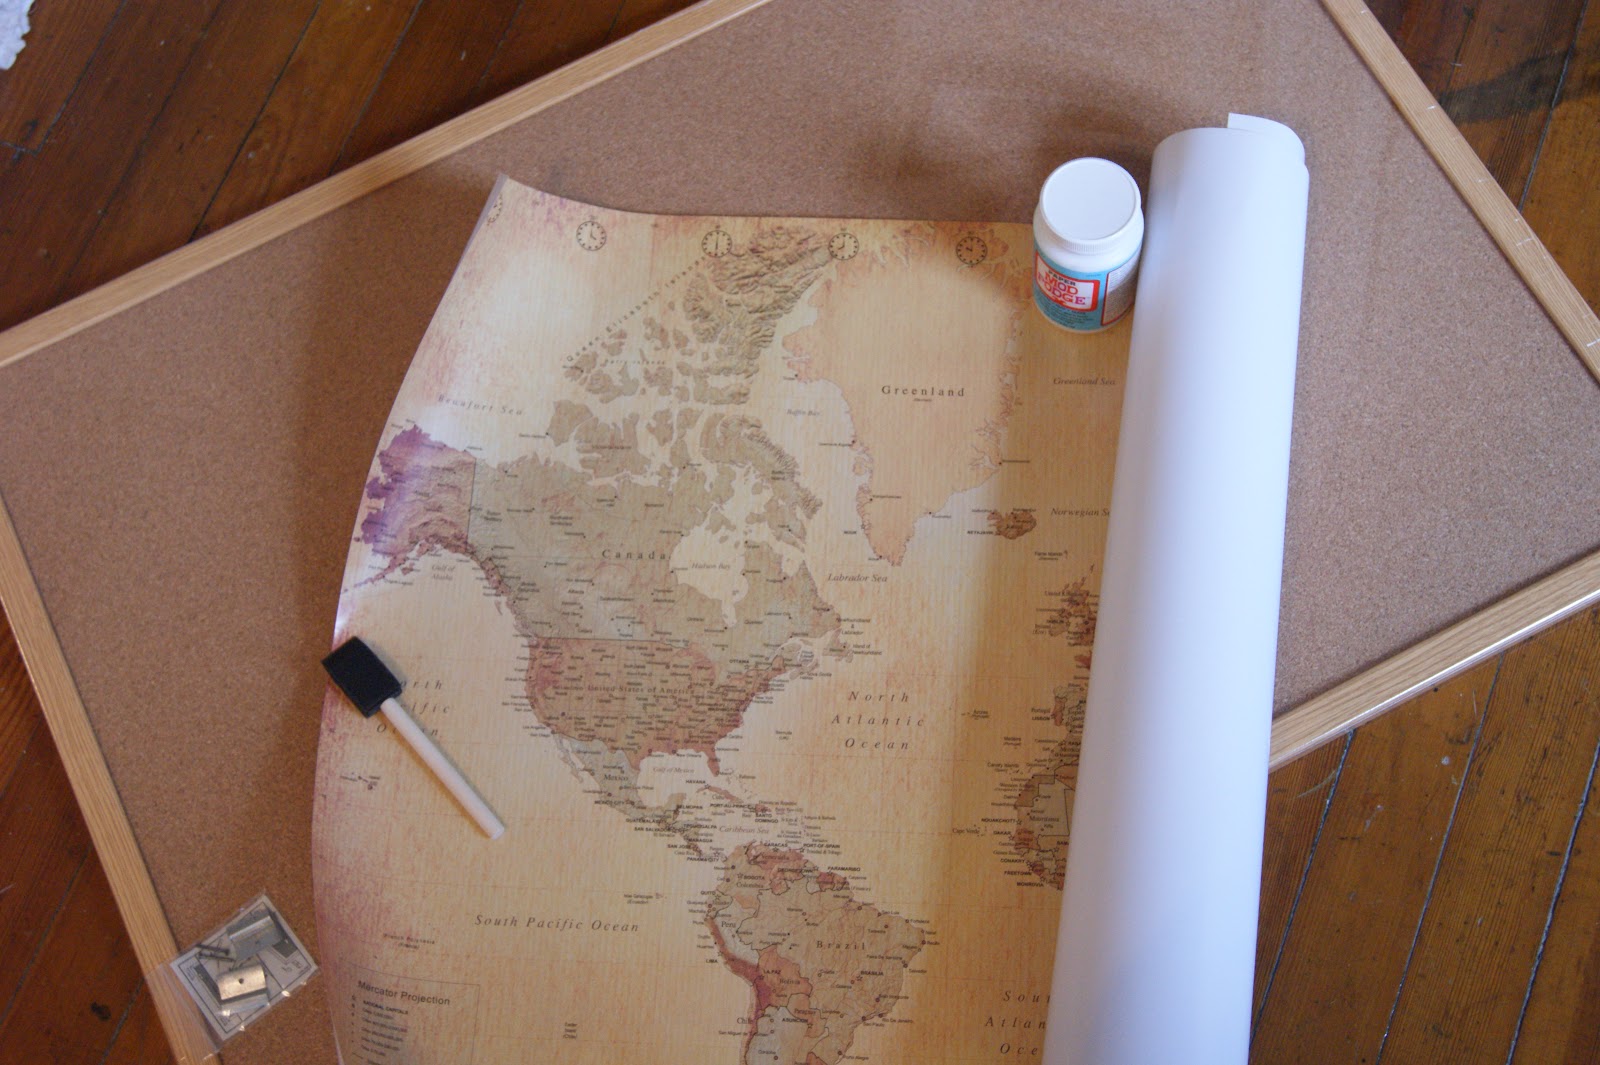


FYI: The hanging corkboard I used from The Container Store was already framed.  I couldn't remove the framing because of their design, so I ended up having to get creative and trim the sides of the map a little.  Then I slid the edges under the framing. 

Directions? It's easy! I placed the map on the corkboard, used some ModPodge to hold down the corners, and let it dry!
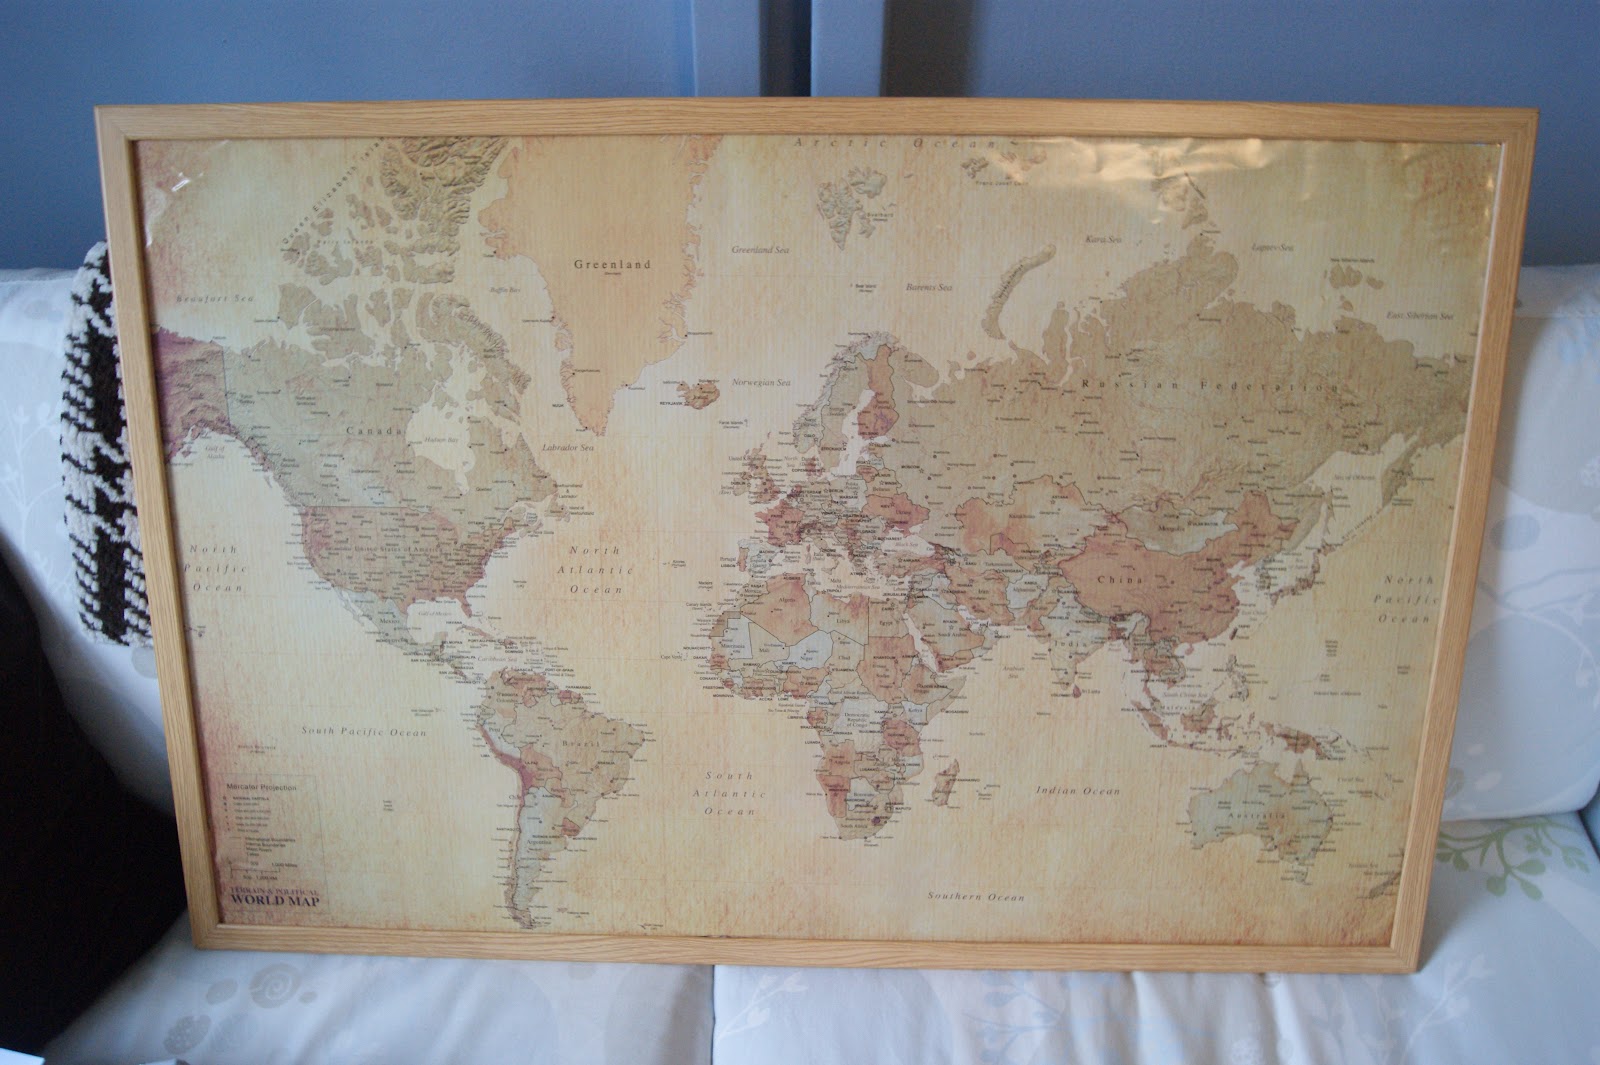


Voila!

I also picked up some little map pins, and we had so much fun pinning places.  We have different colors for places we've been separately and places we've both been to. 

Now, we just need to find a place on the wall!

Friday, May 25, 2012

how-to: chippy wooden frames

In the midst of all my diy and projects and details for my wedding, I thought I would share this project with you!


At a lovely bridal shower this past weekend, some of the ladies helped me make these adorable picture frames.  Eventually, I'm going to spray paint the inside glass with chalkboard paint. But, even without the chalkboard paint, I think they're adorable. 


In fact, I got so excited about the project that I forgot to take pictures while we were doing it!


Supplies:
cheap wooden frames (mine were about $3 from Hobby Lobby)
2 colors of paint (one that's appropriate for wood -- I had 3 color options and told everyone who helped me to just pick their two favorite!)
paint brushes
a wax candle (I picked one up from CVS for about $1)
sandpaper block


Instructions:


1.  Using the candle, rub wax on places around the frame that would get chipped in every day life: flat stretches, corners, etc.


2. Paint the first color on.  Wait for it to dry.


3.  After it's dry, use the sandpaper block to lightly buff the places you put wax earlier.  The paint should come off fairly easily.  Buff until it looks chippy enough for you.


4. Rub wax on a second time.  A good portion of it can go in the same places.  It's also nice to put some in new places on the frame so the first color will show through the second color a little. It's up to you, though!


5. Paint on the second color! Wait for that one to dry.


6. Buff with the sandblock again! Buff until you're happy with the final result.


All done! Do you love them?

Sunday, May 6, 2012

little how-to: lemon salt scrub!

I have been working on so many small projects, lately!  Most of them are wedding-related, but a few are just for fun.  This one is both!

I've seen so many "recipes" for body scrubs around the internet over the last few months, so I thought I would whip up one of my own.  

Ingredients:
course sea salt
olive oil 
lemon juice


I didn't use specific measurements.  I put some salt in a bowl and added enough olive oil to almost reach the final consistency I was looking for (don't forget about the lemon juice!).  I was looking for something like a paste, but a texture easy enough to spread around with a washcloth -- not clumpy.  Olive oil is good for your skin all by itself, so don't worry about using "too much" of it.  

The last thing to go in is the lemon juice.  Be careful with that olive oil.  The lemon juice is more runny, so it might take a little testing to get the right consistency.

This is what my mixture looked like:


After I was satisfied with my mixture (and I tested it on my hand because I was curious), I put it in some adorable mini mason jars, threw a little touch of fabric in the lid, and tied a twine bow. Voila! Part of the bridesmaids' gift!  


To use: with already clean skin, rub the scrub in a circular motion over skin to exfoliate.  Rinse and enjoy!